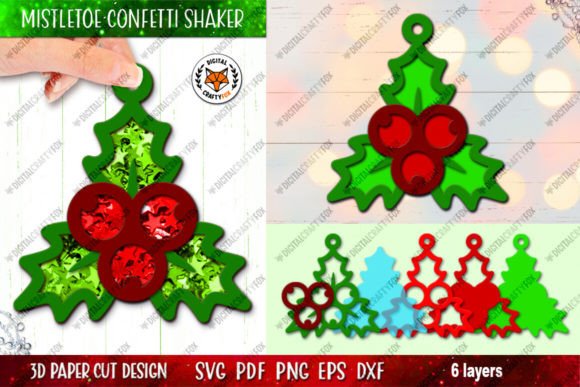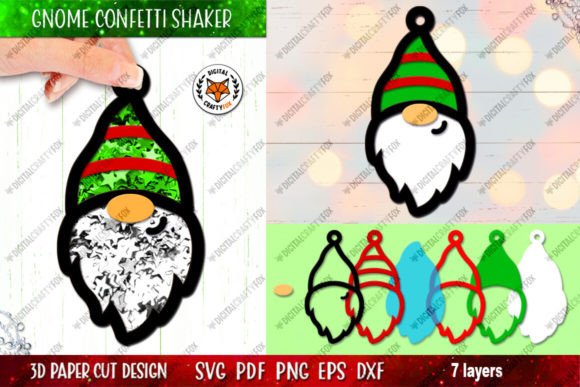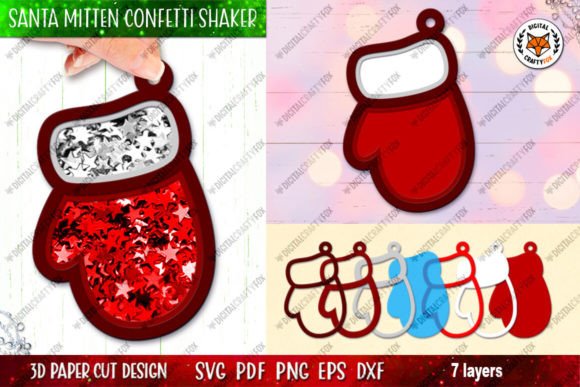
Mastering the Santa Claus Mitten Confetti Shaker SVG for Professional 3D Paper Crafts
The holiday season brings a surge in demand for unique, handmade decorations, and few items capture the festive spirit quite like interactive paper crafts. The Santa Claus Mitten Confetti Shaker SVG represents a sophisticated blend of traditional papercrafting and modern digital design. Unlike flat cutouts, this project utilizes a 3D layered design to create a dynamic toy where glitter and confetti dance within a sealed compartment. For creators, educators, and small business owners, understanding the nuances of this specific file type is crucial. Many enthusiasts rush into cutting without fully appreciating the structural requirements of a shaker mechanism, leading to fragile results or messy assemblies. By approaching this project with a clear strategy, you can ensure a high-quality finish that stands up to handling and display.
Understanding the Mechanics of 3D Layered Designs
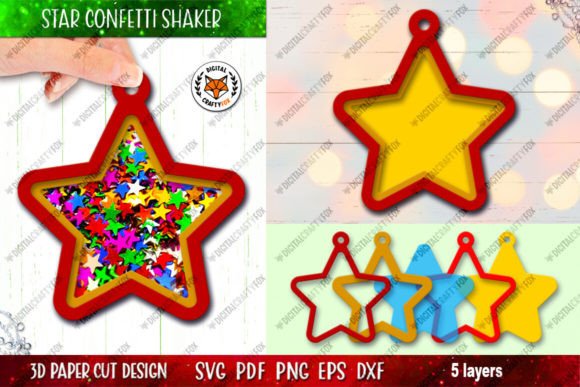
A confetti shaker is not merely a stack of paper; it is an engineered object. The core appeal of the Santa Claus Mitten Confetti Shaker lies in its depth. To achieve the necessary volume for the confetti to move freely, you must respect the spatial relationships between the layers. A common misconception among beginners is that standard cardstock is sufficient for every part of the build. While cardstock works beautifully for the decorative front and back panels, it lacks the rigidity and height required for the internal walls that hold the confetti.
If you use thin paper for the side walls, the structure will collapse under the weight of the glitter, or worse, burst open during use. This is why the design specifications often suggest using thicker materials for the layer that holds the confetti and gives it height. Materials such as thick cardboard, felt, foam board (foamin), or even layers of double-sided tape can provide the necessary elevation. Ignoring this structural necessity results in a flat, non-functional ornament rather than a lively 3D toy. Before you begin cutting, assess your material inventory to ensure you have these supportive substrates ready.
Selecting the Right Transparency Material
The visual impact of a shaker depends heavily on the clarity of the window through which the confetti is viewed. One of the most frequent errors crafters make is choosing a transparency material that is either too brittle or too cloudy. For the Santa Claus Mitten Confetti Shaker SVG, the ideal choice is a thin, flexible silicone material, such as the covers from notebooks or plastic folders. These materials offer excellent clarity and, more importantly, flexibility.
Rigid acetate sheets can sometimes crack when folded or glued into tight corners, compromising the seal. Furthermore, if the plastic is too thick, it may interfere with the adhesion of the glue strips, leading to leaks. When evaluating your options, consider how the material interacts with adhesive. A smooth, non-porous surface is essential for a permanent bond. If you skip this consideration, you risk having the confetti spill out over time, ruining the presentation and creating a mess for the end-user. Always test a small scrap of your chosen transparency with your preferred adhesive before committing to the final assembly.
Navigating File Formats and Cutting Precision
Digital downloads for papercrafts come in various formats, and selecting the wrong one can hinder your workflow. The zip archive for this product typically includes DXF, SVG, EPS10, PDF, and PNG files. Each serves a distinct purpose. SVG and DXF files are vector-based, meaning they scale infinitely without losing quality. This is vital if you decide to cut the toy larger than the default size. However, a critical warning applies here: while you can scale up, you should avoid making the shaker very small.
A miniature size makes it incredibly inconvenient to fill the cavity with glitter. The opening becomes too narrow for funnels or careful pouring, leading to frustration and wasted materials. Conversely, scaling up requires ensuring your cutting machine can handle the increased dimensions. For those using hand-cutting methods, the PDF file with all layers and the high-resolution PNG files (300 dpi on transparent background) are invaluable. They provide clear visual guides that vector files sometimes lack in terms of layer differentiation.
Another overlooked detail is the inclusion of special strips with teeth in the file package. These are not decorative; they are functional components designed to create a high rim for the confetti glue-strips. These toothed edges increase the surface area for adhesion, ensuring a stronger bond between the transparency window and the frame. Skipping these strips or failing to align them correctly is a primary cause of shaker failure. Always utilize these specialized elements as intended to maintain the integrity of the 3D structure.
Assembly Strategy and Order of Operations
Successful assembly relies on following a logical sequence. The provided files often include numbered layers to indicate the order of gluing. Deviating from this order can trap air bubbles, misalign the window, or make it impossible to insert the confetti. A practical approach is to lay out all cut pieces before applying any adhesive. Verify that the numbers match the physical layers.
Start by preparing the base and the side walls. If you are using foam or cardboard for height, ensure these are cut precisely. Next, attach the transparency window. It is advisable to leave one side of the shaker open until the confetti is inserted. Use a small funnel or a rolled piece of paper to guide the glitter into the cavity. Once filled, seal the final layer. If you prefer not to make a functional shaker, you can simply cut out the 3D toy without the window and confetti, creating a solid decorative piece. This flexibility allows you to cater to different customer preferences or skill levels.
Quality Control and Final Considerations
Before finalizing your project or listing it for sale, perform a rigorous quality check. Shake the mitten gently to ensure there are no leaks. Inspect the edges for any gaps where glue may have failed. The aesthetic appeal of the Santa Claus Mitten Confetti Shaker is enhanced by the contrast between the vibrant red and white of the mitten and the sparkling contents inside. Ensure that your choice of confetti complements the design without overwhelming it. Fine glitter works well for a snow-like effect, while larger shapes can add visual interest but may require a deeper cavity.
For entrepreneurs and marketers, highlighting the ease of assembly and the included instructions can be a significant selling point. Emphasize that the files are for digital download only and that support is available for any questions. Encouraging customers to rate the store helps build community trust and provides valuable feedback for future designs. By paying attention to these details—material selection, file usage, and assembly precision—you transform a simple digital file into a cherished holiday keepsake. Whether you are a hobbyist looking for a weekend project or a professional creator expanding your product line, mastering these elements ensures a satisfying and successful crafting experience.