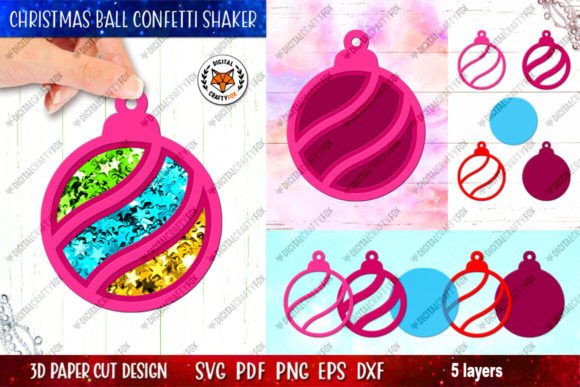
DIY Christmas Ball Confetti Shaker Guide
Crafting holiday decorations offers a unique opportunity to blend artistic expression with tangible, interactive design. Among the various projects available to modern makers, the Christmas Ball Confetti Shaker DIY stands out as a compelling intersection of traditional paper crafting and kinetic art. This project is not merely about cutting shapes; it is about engineering a small, self-contained environment where movement and light interact. For educators, small business owners, and hobbyists alike, understanding the mechanics and creative potential of this 3D layered design can significantly enhance both personal satisfaction and professional output.
The Mechanics of Motion in Paper Crafting
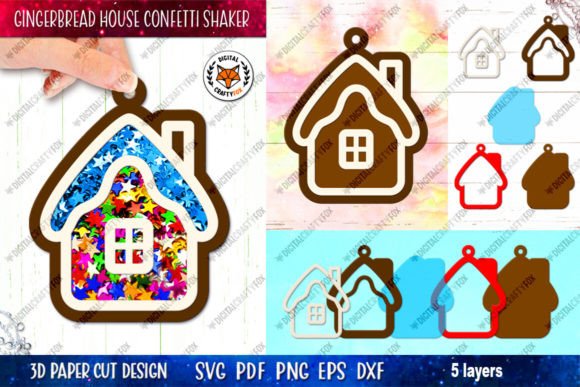
The core appeal of a shaker card or ornament lies in its ability to capture attention through motion. Unlike static decorations, a confetti shaker invites interaction. When you engage with a Christmas Ball Confetti Shaker, the visual reward is immediate: glitter and sequins dance within a confined space, creating a mesmerizing effect that mimics falling snow or swirling magic. Achieving this effect requires a precise understanding of depth and containment.
The structural integrity of the shaker depends on the "well" or cavity that holds the loose elements. In this specific 3D Christmas toy design, the layer that holds the confetti and gives it height is critical. You cannot simply glue two flat sheets together; there must be volume. Crafters have several material options to create this spacer layer. Thick cardboard provides rigidity and is ideal for larger ornaments, while felt offers a softer, more forgiving edge that can prevent rattling noises from becoming too harsh. Foam sheets, often referred to as foamiran or craft foam, are perhaps the most popular choice due to their uniform thickness and ease of cutting. Alternatively, double-sided tape can be layered to build up height, though this method requires more patience and precision to ensure an even seal.
Material Selection and Transparency
Visibility is paramount in shaker design. The front and back layers must be transparent to allow the viewer to see the internal movement. While acetate sheets are a standard choice, resourceful creators often look for alternative materials. Thin silicone material covers from notebooks or clear plastic folders serve as excellent, cost-effective substitutes. These materials are flexible enough to adhere well to adhesives yet rigid enough to maintain the shape of the ball under slight pressure.
When selecting your transparent medium, consider the clarity and reflectivity. High-clarity plastics reduce distortion, ensuring that the intricate details of the inner layers remain visible. If you are using recycled materials like folder covers, ensure they are free from scratches or printed text that might distract from the confetti display. The goal is to create a window into a miniature winter scene, and any obstruction detracts from the immersive experience.
Precision Cutting and File Formats
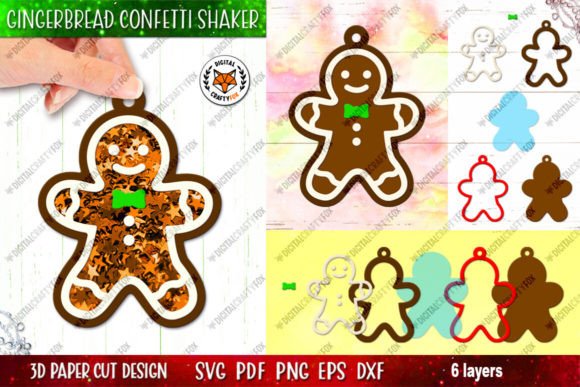
The success of a complex 3D layered design relies heavily on the precision of the cut. Modern digital cutting machines have revolutionized this process, allowing for intricate details that would be nearly impossible to achieve by hand. The files provided for this project are optimized for such tools, offering versatility across different software and hardware platforms. The zip archive includes DXF files, which are universally compatible with most cutting machines, alongside SVG files for users of Cricut or Silhouette devices. For professional graphic designers or those using laser cutters, EPS10 files ensure vector scalability without loss of quality.
Additionally, the inclusion of PNG files at 300 dpi on a transparent background is particularly useful for those who may wish to visualize the layers digitally before cutting or for users who prefer hand-cutting guides. The PDF file serves as a comprehensive reference, displaying all layers in their intended arrangement. This multi-format approach ensures that whether you are a tech-savvy entrepreneur using automated workflows or a traditional crafter preferring manual assembly, the tools are accessible.
A notable feature of this design is the inclusion of special strips with teeth. These are not merely decorative; they function as structural elements to create a high rim that securely holds the confetti. The teeth provide additional surface area for adhesive bonding, reducing the risk of leakage—a common frustration in shaker crafts. This thoughtful detail demonstrates how digital design can solve practical physical problems, bridging the gap between aesthetic appeal and functional durability.
Assembly Strategy and Scaling Considerations
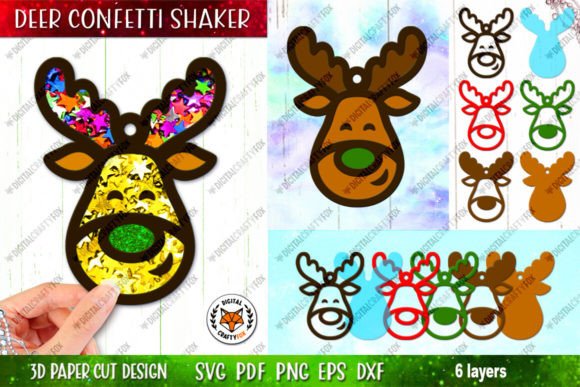
Assembly of the Christmas Ball Confetti Shaker DIY is streamlined through a numbered instruction system. Each layer is marked in the order of gluing, removing guesswork and reducing assembly time. This systematic approach is beneficial for educators teaching crafting classes or small business owners producing items in batches, as it minimizes errors and ensures consistency across multiple units.
Scale plays a crucial role in the usability of the final product. While the design can be scaled up to create larger statement pieces, caution is advised when scaling down. Making the toy very small is generally inconvenient and often counterproductive. A miniature shaker lacks the internal volume necessary for the confetti to move freely, resulting in a cluttered appearance rather than a fluid dance of particles. Furthermore, filling a tiny cavity with glitter requires fine motor skills and specialized tools, increasing the difficulty level unnecessarily. For optimal results, maintain the recommended size or increase it slightly to enhance the visual impact and ease of assembly.
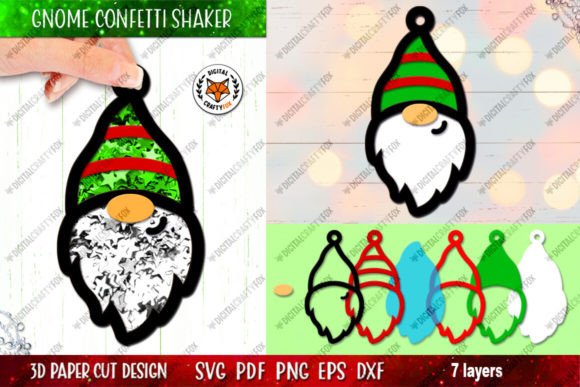
It is also worth noting that the shaker mechanism is optional. If the kinetic element is not required, the same files can be used to create a static 3D toy. By omitting the transparent layers and confetti, and instead stacking the decorative layers with foam spacers for depth, you create a textured, bas-relief ornament. This flexibility allows creators to adapt the design to different audiences or purposes, such as creating lightweight tree ornaments versus sturdy table centerpieces.
Practical Applications for Creators and Educators
For bloggers and content creators, documenting the process of making a Christmas Ball Confetti Shaker provides engaging visual content. The transformation from flat digital files to a dynamic 3D object is inherently shareable and appealing on social media platforms. For entrepreneurs, these shakers represent a high-value handmade product. The perceived complexity of the item often commands a higher price point than simple flat cards, yet the standardized digital files allow for efficient production.
Educators can utilize this project to teach principles of geometry, layering, and cause-and-effect. Students learn how two-dimensional shapes combine to form three-dimensional structures and how enclosed spaces function. The numbered layers assist in developing sequential thinking and following technical instructions, skills that are transferable to many other academic and professional contexts.
Maximizing Value Through Digital Assets
The value of this project extends beyond the physical ornament. The digital download model supports sustainability by eliminating shipping waste and allowing for instant access. Users can print and cut as needed, reducing material waste from trial and error thanks to the precise vector files. The inclusion of hand-cutting files ensures accessibility for those without expensive machinery, democratizing the creation process.
When working with these files, it is essential to respect the intellectual property involved. These are for digital download only, intended for personal or limited commercial use as specified by the creator. Supporting designers by rating stores and providing feedback helps maintain a vibrant ecosystem of high-quality creative resources. If questions arise regarding file compatibility or assembly techniques, direct communication with the designer is encouraged, fostering a community of shared knowledge and continuous improvement.
In conclusion, the Christmas Ball Confetti Shaker DIY is more than a seasonal craft; it is a study in design, mechanics, and material science. By leveraging precise digital files and thoughtful construction techniques, creators can produce objects that delight and engage. Whether used for personal enjoyment, educational purposes, or commercial ventures, this project offers a rewarding blend of challenge and creativity.